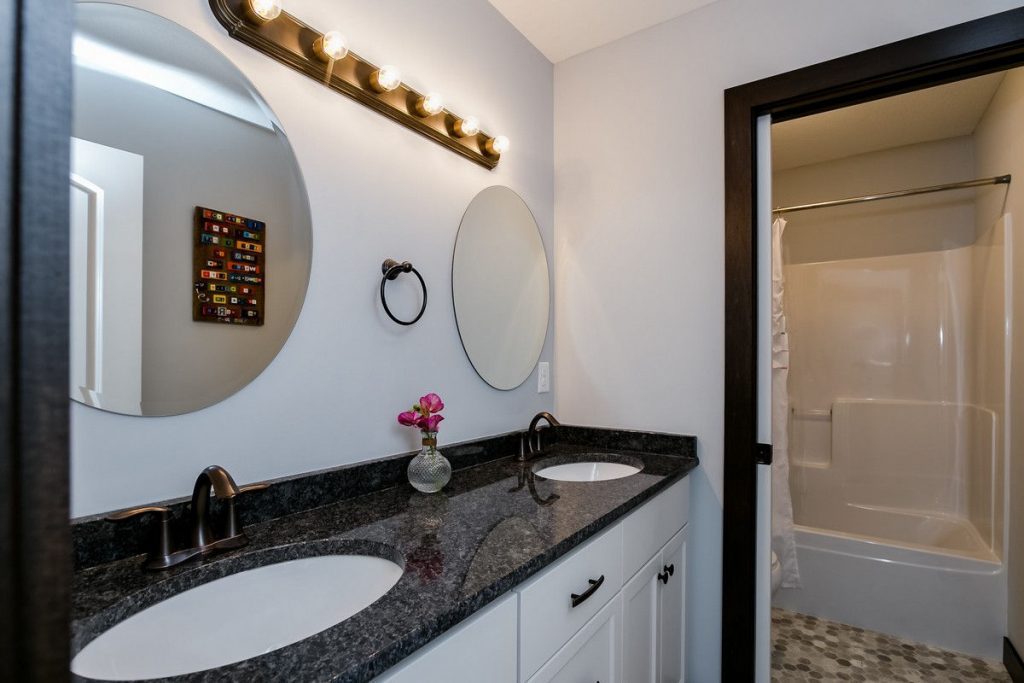
Shower tile is pretty much a necessity for aesthetic and functionality! But your shower doesn’t have the beautiful wall tile, so what now? Let install our own naturally!
What you’ll need (it’s not as much as it seems I swear)
- Level guide/level
- Construction adhesive
- Concrete backer board with screws and cement board cutter
- Fiber tape
- Thin set mortar mix/mortar mixer
- Grout mix
- Tile spacers
- Wet saw or tile cutter
- Mild soap
- Sponges
- Tile nippers
- Two large plastic buckets
- Drill and bit
- Notched trowel
- Tile Float
- Towels
- Disposable gloves
- Chalk line
- Caulk gun
Alright! once you have gathered the necessary materials/tools we can start remodeling your desired room with some wonderful new tile!
First off check the temperature of the room. Ensure the temperature is between 50-70 degrees for 24 hours before and after the installation.
Ensure the surface your working with is flat, dry and structurally strong. Clean the walls with a mild soap and sponge before beginning.
Attach a cement board to make the surface waterproof using the drill and screws. Apply fiber tape to cover the seams, and to add extra protection, apply a waterproof sealer to the concrete backer board.
Its time to prep the first row of tile!
Use a long board, that is just shorter than the length of the wall that’s being tiled as a temporary guide and rest. Make certain the board is level within one tile height of the base wall.
Prep the mortar in one of the large buckets and combine the thinset mortar and water according to package instructions. Make sure not to mix more than you can use in a 20 minute time-span!
Apply the mortar to the waterproof board along the temporary guide board using a notched trowel . Only apply 2-3 horizontal rows at a time.
Time to install the tile!
Before applying your tile, decide on the layout and orientation of the pieces. Start off by installing whole piece tiles first then fill in with cut pieces as you go or install them at the end. If you must wait to install the cut pieces at a later time, use a notched trowel to scrape the thinset from the wall so it doesn’t dry before the actual installation. When applying cut pieces, apply the thinset to the backs of the tiles.
Evenly space the tiles. Continue placing the tile in horizontal rows and placing spacers of choice in between the tiles. Once the thinset dries (after approx.. 12 hours) remove the temporary wood board and install the final tile on the bottom row. Let dry for 24 hours and remove the spacers.
Lastly apply grout! Mix the grout in a large bucket according to package instructions. Apply grout with a rubber float at a 45-degree angle. Use pressure to push the grout evenly and fully into the joints of the tile! Don’t miss any places! go back through and ensure no spaces are left.
Once all the grout is between the tile, just wipe away the excess before it stiffens using a wet sponge. Do not wipe in the direction of the grout lines, rather at an angle to prevent taking up the grout you just laid. Once dry just buff the tile with a dry towel and done!
Congratulations on your new wall tile! Be proud of your achievement! Now if you have other rooms to do the process will be easier after doing it once!