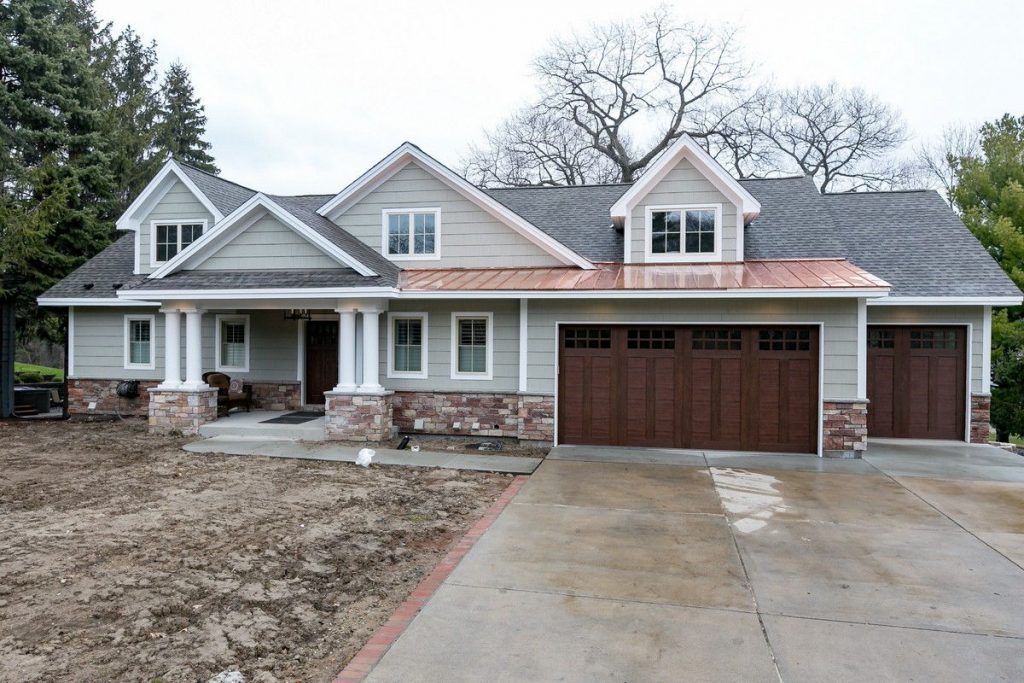

3 Things to Consider Before Adding an Addition to Your Home
Are you considering expanding your home with an addition? Adding an extra room or two can be


Obsessed with the Wizard Of Oz? Then this isn’t the article for you! However you’re more than welcome to stay and read how to lay your own brick pathway! (you can paint them yellow if you so desire)
Why lay your own brick path?
Having a pathway lead up to your front door is a classic style that looks great and really helps guests feel welcome! Learning to lay your own brick pathway also helps to brag a little bit at those fun get-together’s! Knowing how to lay a brick path also helps open a bunch of opportunities in other areas of your home! (Bonfire pathway for example!)
Is it hard?
No! Making your own pathway is relatively simple! It should only take about half a day to start and finish, and all with a cheap price tag! You’ll just need a hammer, shovel and rake for tools!
How do I start?
That’s what we are here for! For materials you will need:
Starting off is easy! Simply mark out the area you plan to convert into the pathway so you know what your doing and where, then remove any plants, rocks, and debris from inside that area.
Next, smooth the area with a shovel. Be sure to have some wooden stakes hammered into the ground that mark the edge of your walkway, on both ends and the side as well! It helps to run a string between the stakes to help you have a better visual of the finished outcome (roughly). Be sure to leave enough room under the string for a shovel to fit. This will be your indicator of “have I smoothed the ground enough?”
Use the shovel to dig a line underneath the string, this will define the edge of the project. Its better to work from the outside in. Level the ground using the string and a measuring tape. Now dig out the base of the pathway to the depth of the bricks your have, plus an excess of two inches to account for the crush base layer.
Fill the area with crushed stone base and rake it to approximately two inches deep. Using the claw of your hammer, dig a trench for a metal pipe on both sides of the pathway. These pipes will serve as an indicator of a consistent 2 inch depth for the crushed stone base layer. Make certain the top of the pipe is exactly two inches above ground level and beneath the stone base layer.
Smooth the base layer by scraping along the top of the pipe with a brick, once complete you can remove the wooden stakes and string.
Smooth the walkway area with a rake and a level. Change accordingly, the amount of crushed stone base. Now get a plate compactor to compact the surface. Once done compacting, carefully remove the pipes and fill the trench in with crushed stone base using the shovel.
Replace the stakes and string to act as precise tools for the edges of the brickwork. The string should be one brick width inside the outer edge of the walkway.
Start laying the bricks in the pattern you so desire! (the most fun part!) Keep using the string as a guide to keep the pattern straight and consistent. Wait for the placement of cuts bricks and outer row bricks.
Install edging (if you want edging) using landscape spikes. Leave enough room for the final row of bricks or desired edge detail. Once ready, lay the final row of bricks to fill the remaining gaps, but be sure it fits, so cut to fit with a circular saw or angle grinder.
Compact the brick using the plate compactor to really help them get snug. Then finally lay some sand across the top of the bricks so it can fall between any spaces and keep them from moving around at all.
All done! You now should have a wonderfully made new brick pathway! on the next dinner night at your place you can welcome everyone across your newly made achievement!
Give us a call today and inquire about house remodels that could give a strong aesthetic fit to your new pathway!


Are you considering expanding your home with an addition? Adding an extra room or two can be


Building a custom home is an exciting and rewarding experience, but it can also be overwhelming. There


Looking for a way to improve your home and add value? Installing a sport court in your


13727 Louisville Rd
Shakopee, MN 55379
Phone: (952) 292-6107
Email: Office@xpandinc.com
Bldr. Lic. BC457158


The home is open three days only: April 5-7, noon to 6pm